The Process
1. Gather Materials
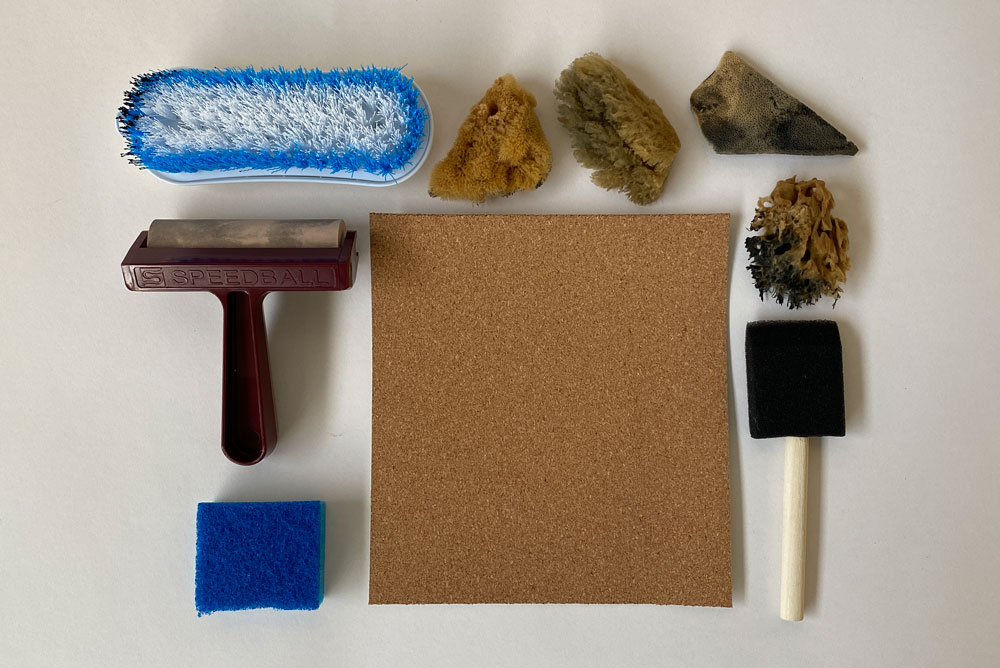
The first step to creating textures is for me to gather my materials. For this I will need some mark making materials, black paint or ink, and some paper. When I am making my textures, I love to find and utilize various items that you may not think of. Some of the “traditional” items that I use are paintbrushes, pens, brayer, and art sponges. Some of the more unique items I have used are sticks, bath loofah, corkboard sheet, and a host of other items. I like to gather everything and anything that I think could be used to create an interesting texture. Once I have my mark making tools, I like to use black acrylic paint. For my paper I tend to just use standard copy paper, but any white paper will do.
2. Experiment
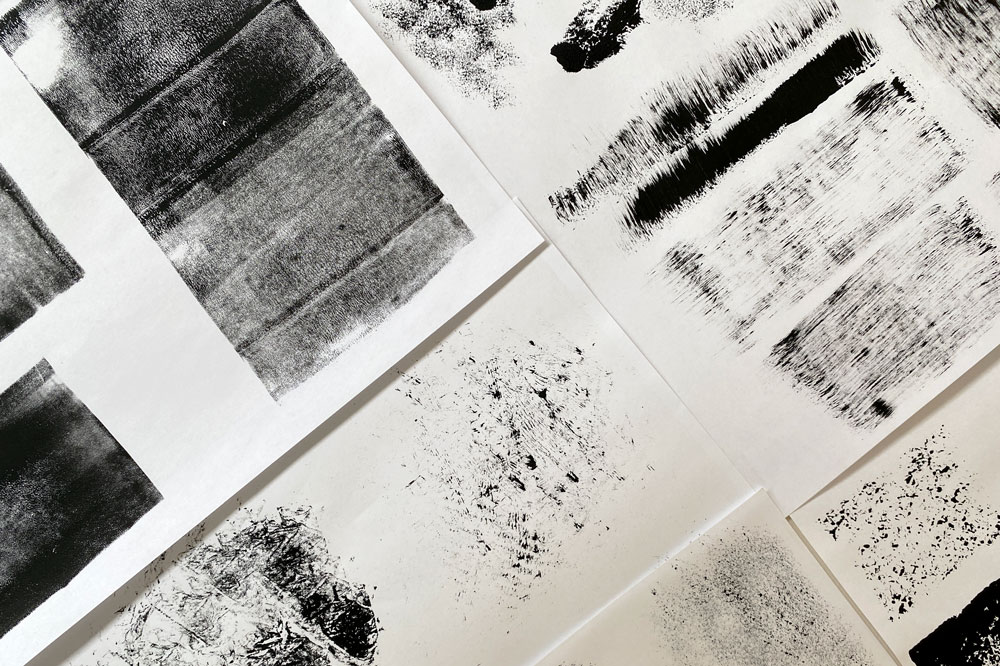
After gathering all of my materials it is time to experiment and create! I usually start by making swipes and then I make some stamps and try to get different areas of the material. Say if it were an art sponge, it doesn’t have the same texture/pattern all the way around, so I try to get its variations stamped on the paper as well. There is nothing that can be done “wrong” at this step. It is all about being free and experimenting with making a variety of different marks and textures. Once I am done, I have to let everything dry and then it is time to scan it.
3. Scan
This step is fairly simple. All you need is either a phone to take pictures with or access to a scanner. I have access to a scanner at home so that is what I use. I like to scan my textures in at 300 dpi, in the grayscale color mode, and as a jpg. This makes it easier when I bring my textures into Photoshop since I won’t have to change the mode. To make it easy to find everything I like to create a folder to scan all of my textures into.
4. Edit
Editing these textures is what takes me the most time but also what I think is the most fun. To start once I have scanned all of my textures in, I separate them into individual images so that one texture is one image rather than all of them on one. I like to edit them individually and find doing so the be the easiest. From there I adjust the levels and the contrast so that I can get the texture I want. The end goal for all of my textures is to get them as a black and white tiff to utilize in Adobe Illustrator. When I convert them from grayscale to bitmap, I will lose a lot of nuances so that is why I have to boost the contrast of the texture first. Once I am happy with their boosted contrast, I convert them to bitmap. When I convert them into bitmap mode, I have a few different adjustments I can make. I can keep the texture the same look as before and usually I save a standard copy first. From there I experiment with the halftone and other options that are available. I find that these add a lot of interest and can help make more interesting textures. I spend a lot of time experimenting with the different bitmap settings. Once I am happy, I will save another copy of the texture as a tiff so that I can utilize them in Adobe Illustrator.

5. Finalize
My final step is to simply use these new textures that I have created! They are a lot of fun to play around with and I feel that they really add a unique and interesting depth to my illustrations. The texture I feel just really brings them to life and I love the process of making them and how creative I feel it allows me to be.